Surface topography
Characterising the surface quality of your materials at all scales
- Determination of all roughness parameters in accordance with ISO 25178
- Analysis of surface micro-deformations using 3D topography
- Mapping and dimensional analysis of creped, textured or embossed surfaces
General informations
Surface finishing processes are developing constantly, bringing added value to materials such as communication resources.Applying a relief effect to information using processes such as 3D printing, 3D varnishing, embossing, foil stamping and holograms is a means of creating distinctive packaging, while texturing and embossing techniques can be used to create original paper and tissue surfaces that catch consumers’ eyes.
Traditional standardised methods for testing smoothness or roughness by measuring the rate of airflow give general information on surface condition but are highly inadequate for characterising surfaces with relief. It is often necessary to go further in order to understand the relationship between the roughness of a material and the desired functions or visual aspect.
Such characterisations are now possible using the TOPO3D and 3DMAP instruments, which were developed at the CTP and complement each other in terms of measurement scales.
Technical Data and Achievements
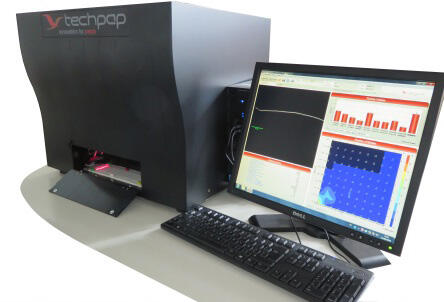
3DMAP
Objective: Characterising surface quality at a scale of a few tens of µm
- Measurement of undulation-type deformation
- Dimensional analysis of textured surfaces: frequency and amplitude of creping, periodic marking
- Dimensional analysis of the deformation obtained through embossing, 3D varnishing or Braille marking
Measurement principle: Deformation of a laser line
The incident 1D laser line is deformed by the surface irregularities and the image of the deformed line is recorded by the 2D camera. The laser line progresses along the sample to characterise it in its entirety.
Technical data:
- Vertical resolution: 4 µm
- Horizontal resolution: 20 µm
- Vertical dynamic: 5 mm
- X,Y image size: 40 mm x 200 mm
- Acquisition time: 1 to 2 min depending on the zone
Topo3D
Objective: Characterising surface quality at a scale of a tenth of a µm
- Measurement of fine surface roughness and roughness parameters on a surface or profile
- Dimensional analysis of surface micro-deformation: scratches, ink or varnish coat thickness, watermarks, etc.
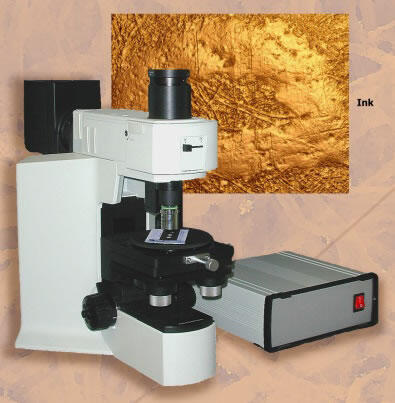
Measurement principle: White light interferometry
The incident beam is separated into two parts: one is reflected by a fixed mirror, and the other is reflected by the sample. The two signals are combined, and the intensity is only sufficient to be detected if there is any interference between them. By moving the sample vertically with a 0.1 µm step, cross-sections are produced at each altitude and a 3D image is produced.
Technical data:
- Vertical resolution: 0.1 µm
Horizontal resolution: 1 µm
Vertical dynamic: 1 mm
X,Y image size: 1.37 mm x 1.04 mm, with possibility of reconstituting images
Acquisition time: 2 to 20 min depending on the roughness
 |
 |
|
| 3DMAP instrument | Topo3D instrument |